Perch Lake Lumber CO. #2
Building the HOn3 layout on the new table top Summer 2020
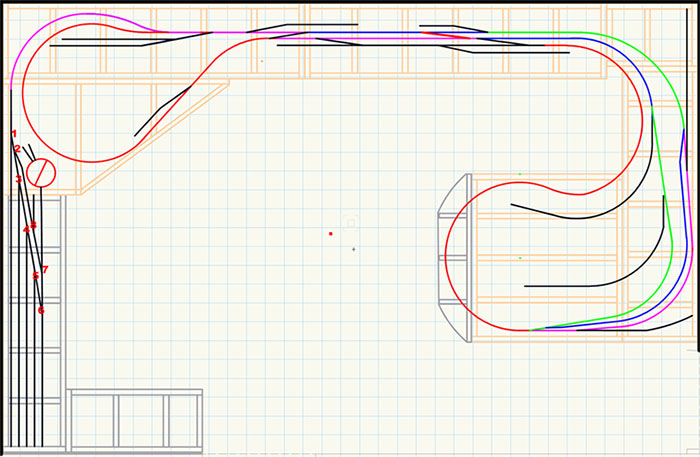
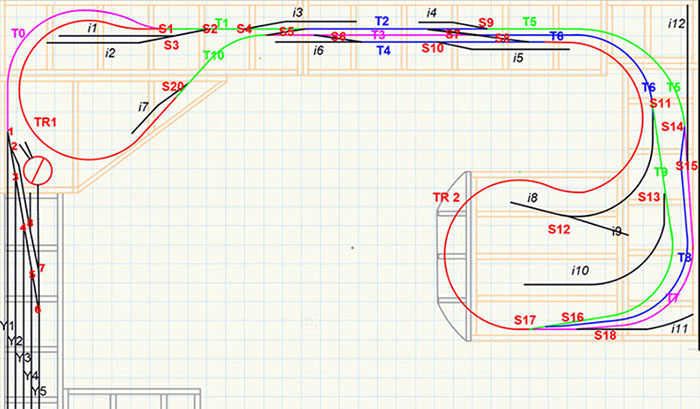
I have added additional sidings in the town and given the turnouts numbers.
Black on the main Blue in the industries and Red in the yard.
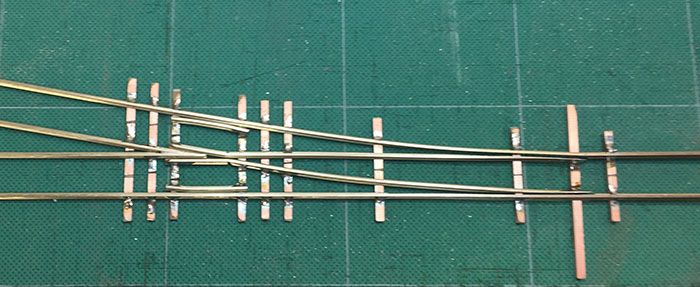
Working on Code 70 #6 HOn3 Turnouts
Building the smaller gauge turnouts with .070" rail is not as easy as HO Standard gauge with code 83 .083" rail. The ties are smaller on the HOn3 turnouts, and I needed a fine pointed soldering iron.
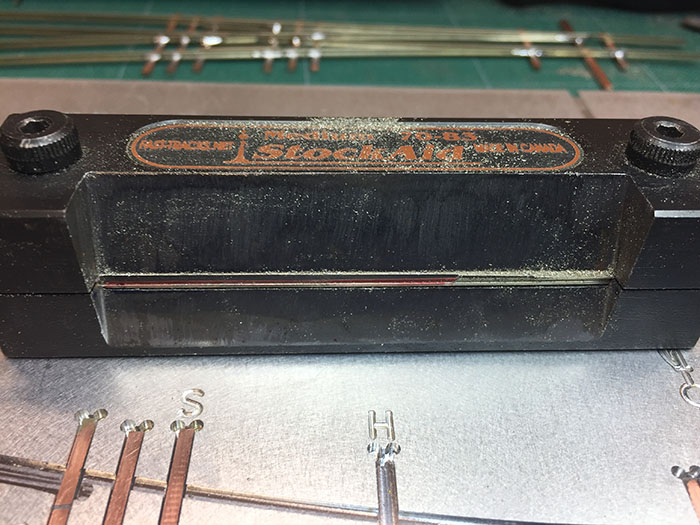
I reviewed the videos from Fast Tracks and used the Stock Aid Tool.
This tool helps you take the bottom of the stock rail off to clear the point rail without harming the main part of the rail. By marking the area to file off with a marker you can taper the edge as you clear the area needed by the point rail.
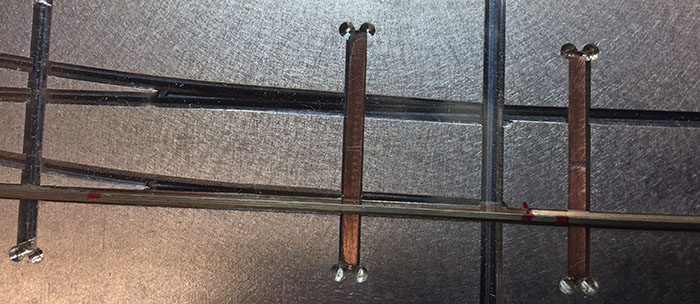
Here you see the space between the red dots that has had the base of the rail removed and see the clearance for the point rail.
My first turnout looked and operated like I had not built a turnout before but after reviewing the process and getting my magnifier light, I could see, I was able to repair my errors and have a finished turnout that meets the NMRA standards.
My second turnout was much better and now that I have a new set of fine points for my soldering iron, I am ready to build more (21 more). Another reason I used Stock Aid is that the belts on my 1X30 inch belt sander we all use to remove the base of the rail had all aged such that the adhesive on that held the belts together dried out and the belts were coming apart. one caught a code 70 rail and made it look like a pretzel. I purchased new belts.
Parts for six more #6 HOn3 Turnouts ready for assembly into 4 Left and 2 Right. (6/28/20)
With all assembled on Monday 6/29/20 I took them to the Delta 24" professional Jig Saw for insulating the frogs.
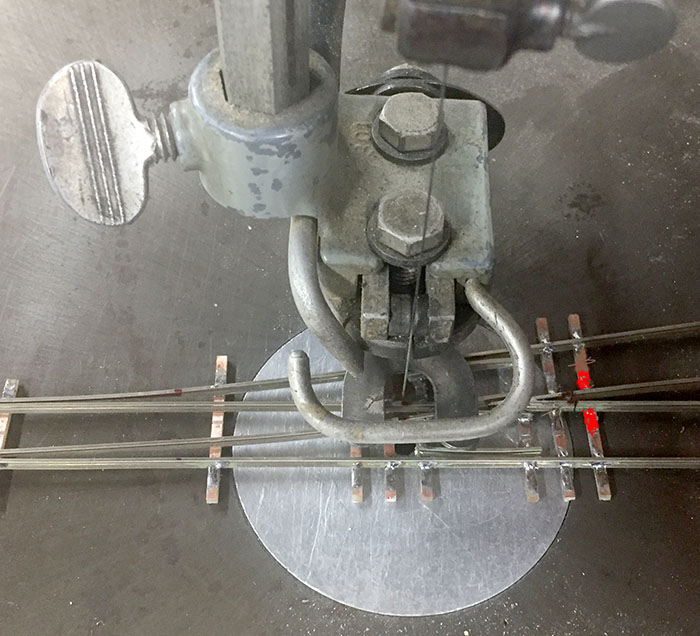
I have found an issue with the HOn3 turnouts that we have not seen with HO turnouts. The area in Red shows the rail to cut off. The clean cut was no problem but because of the lack of space and the insulation cut in the copper of the PC board tie there is only solder on one side of the rails and the cut PC board copper is for insulation. This causes the frog point rails to be very fragile. Only one of the thirty-four rails I cut came off on the saw. I had three more brake in moving the turnouts back to the modeling bench. I will use a 3-point track gauge to replace the rails and plan to add PC ties on each of these turnout tracks in the Quick Sticks that hold the rails. On a HO turnout the space between the rails at this point is wide enough to have solid solder joints on both sides of the rails and have an insulation cut on the top of the PC board tie. (6/30/20)
Turnouts are put onto ties during an outdoor project. 7/10/20
Getting Ready for 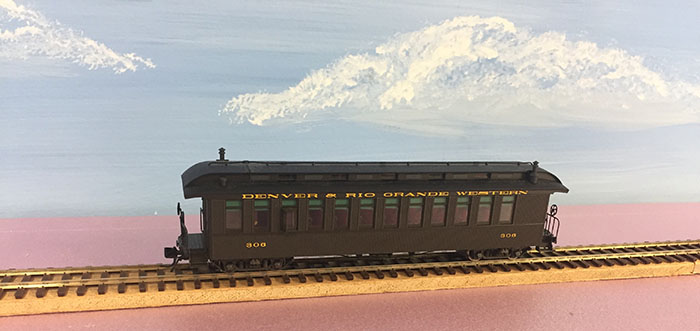 Track
Track
I had an issue with the roadbed I had made for the layout as dual gauge.
Below on the top is the HO roadbed in 8' lengths for dual gauge service. On the bottom is the new sized roadbed cut to 1" after talks with members and checking on roadbed size for HOn3 I decided that the HO was 25% to wide.
Dealing with 8' lengths one-half of which were cut every inch for making curves presented me with a problem in ripping it to 1". My solution was to layer a curve able section between a solid straight section, stacking to seven layers. The length of 8' was also an issue as I was going to rip these on a Radial Arm Saw. I decided to cut the sections in half and then rip them. To hold them together I used 1.25"brad nails. This presented an issue as I could not take them apart after ripping. I took great care in the placement of the nails and will use the chop saw to remove the first and last inch which has the nails.
Cleanup took longer than the wood work !!!
Wooden roadbed was gluded to the foam of the loop and the yard lead.
The use of Circuitron Remote Tortoise Mounts 6100 and 67101 will allow me to mount the motors below the layout and only have a 1/16" hole from the roadbed down to the underside of the layout. No need to cut 2" square holes in the foam or shelves and no need to build Tortoise Mount roadbed for each turnout.
8/15/20
All Roadbed for the mainlines are in with switch blocks and crossovers placed and the entire roadbed sanded ready for track. The track is painted and weathered but needs the of the railhead and connection points cleaned off.
Turnouts have been painted and weathered and cleaned and electrically tested, but also need the contact locations cleaned and the frog wires attached.
Progress; 8/28/20 Can't do more without wires:
9/12/20
DCC Operational
Wires going in under the layout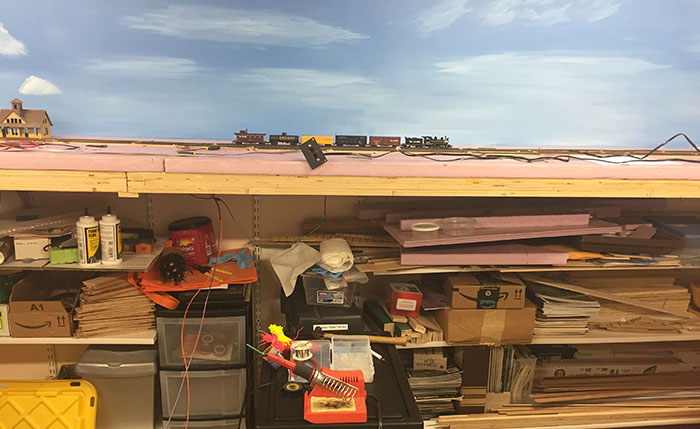
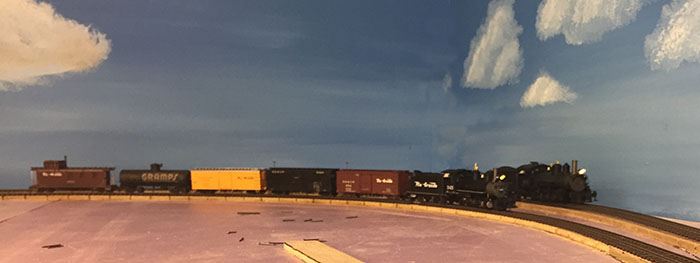
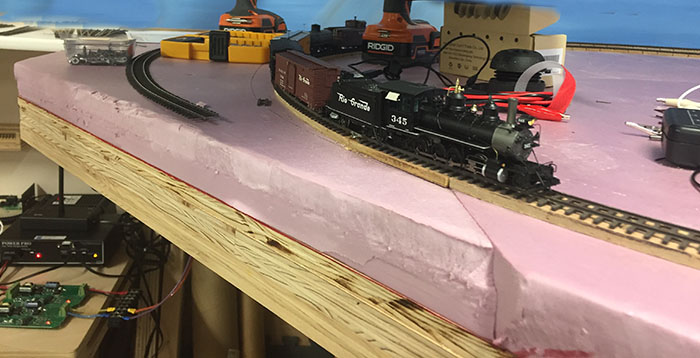
9/24/20
Full circle operation of the layout. 


I finished the locating all of the shorted turnout and then rewired to get things going again. I added the second reverse loop auto controller and completed the wires around the layout.
I was able to run the C19 with a short train around in one direction and then manually throwing turnouts reverse the direction of the train.
The passing siding still needs some track, but the guest refrigerator is blocking the access to the area with the lean over. Only main line and the line to the staging is in place.
No sidings installed but their turnouts are in place. Building a layout in the Covid quarantine meaning all by my self is difficult as I have only phone connections to bounce ideas off other modelers.
The reverse loops have their own controllers and are on their own power breaker. I am using old Tony's Train Exchange reverse loop controllers with PSX breakers. Each segment has drops but at this time all are connected. I want to get trains running so I can find problems o in the turnouts as I get ready to put in the motors.
3/22/21
Operational testing and switch work.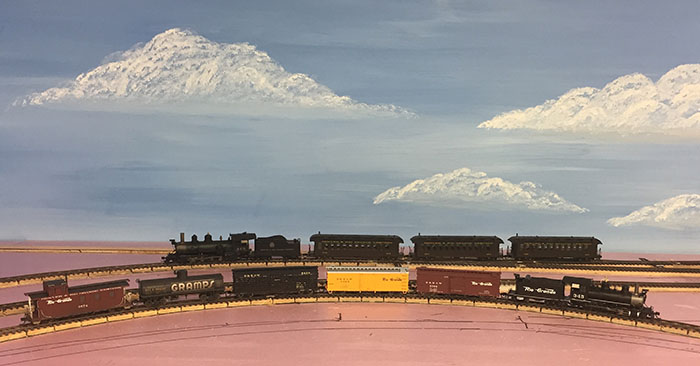 Two train operation around the layout.
 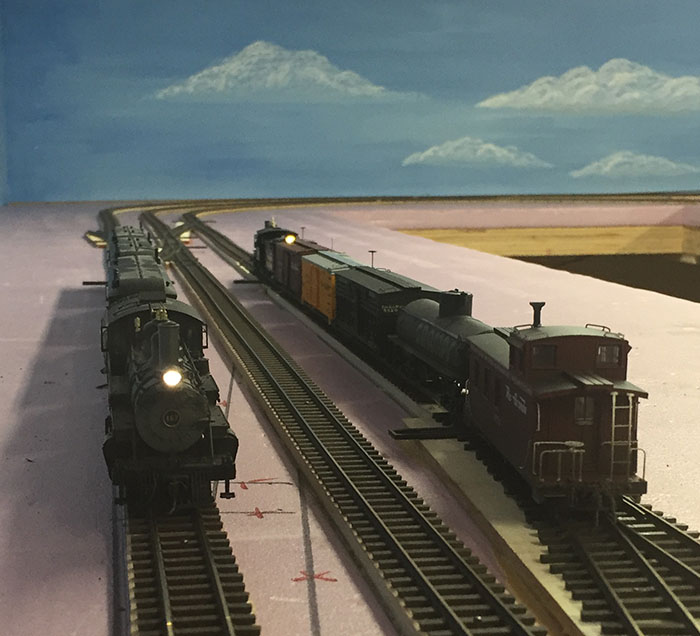 Backing into the sidetrack while the Passenger train is cleared.
Continued in Section 3, Laying out the HOn3 Layout (Click here)
Return to the top (Click here)
Return to Paul's Workshop (Click here)
Join us in the “Greatest Hobby” as a member of the TLMRC.


